![]() Download the ClassMarker Essentials Guide
Download the ClassMarker Essentials Guide


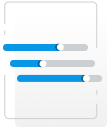


Test settings are chosen when a Test or survey is being assigned (distributed) to a Group or Link. These settings define how Tests/surveys are accessed by users.
There are several different settings to allow full customization of your assignment. These include: Time limit, Number of Attempts Allowed, Pass Mark and many more.
Set Default Test Settings to speed up the Assign process. Default Test Settings are automatically applied each time you assign a Test or survey. Further customization can then be implemented if necessary.
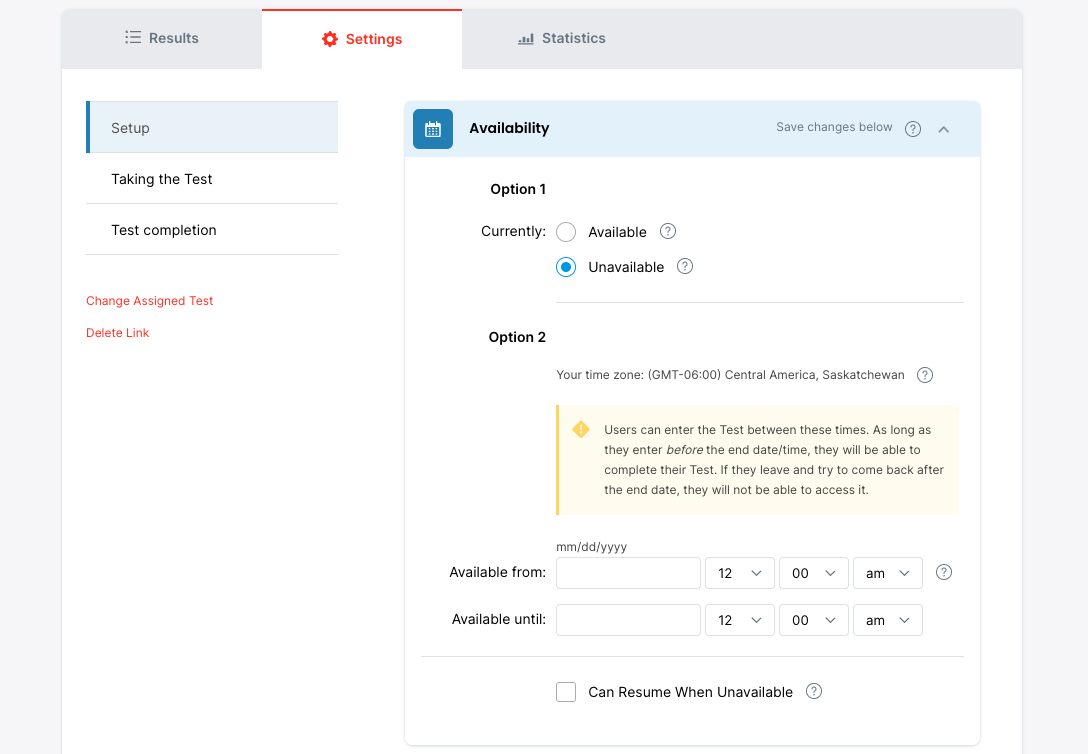
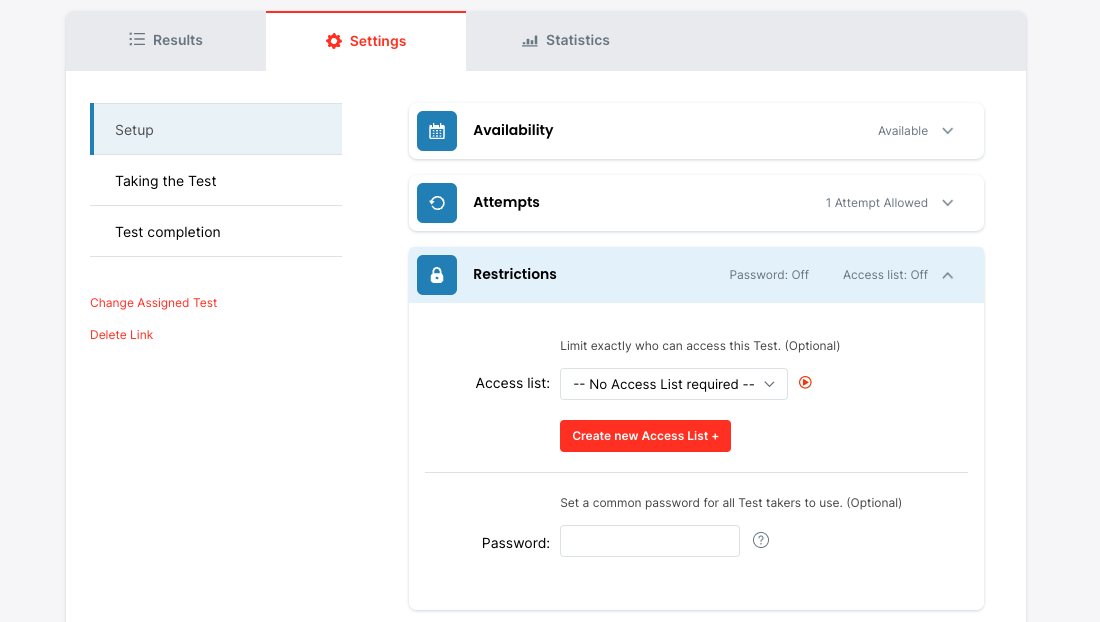
Define when users are able to access your Test or survey. Make them Available or Unavailable, or set a specific date range.
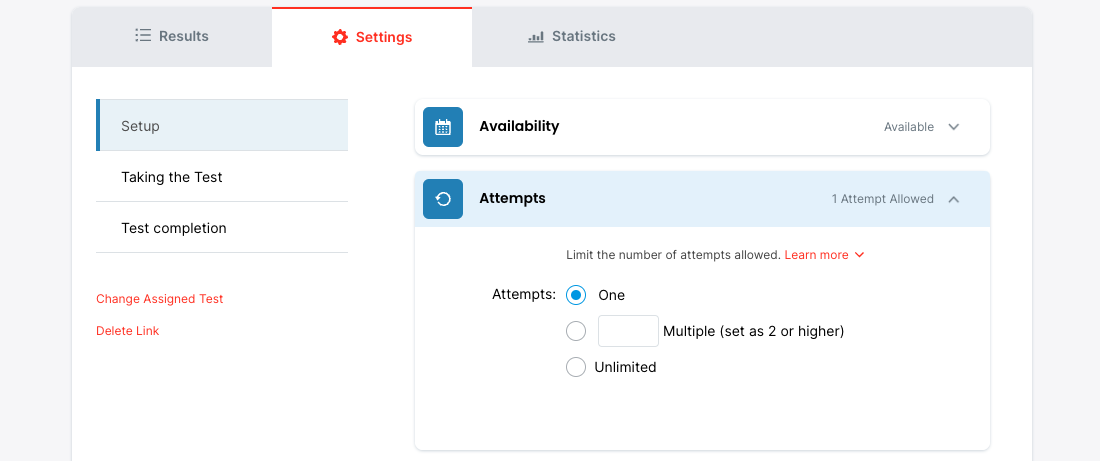
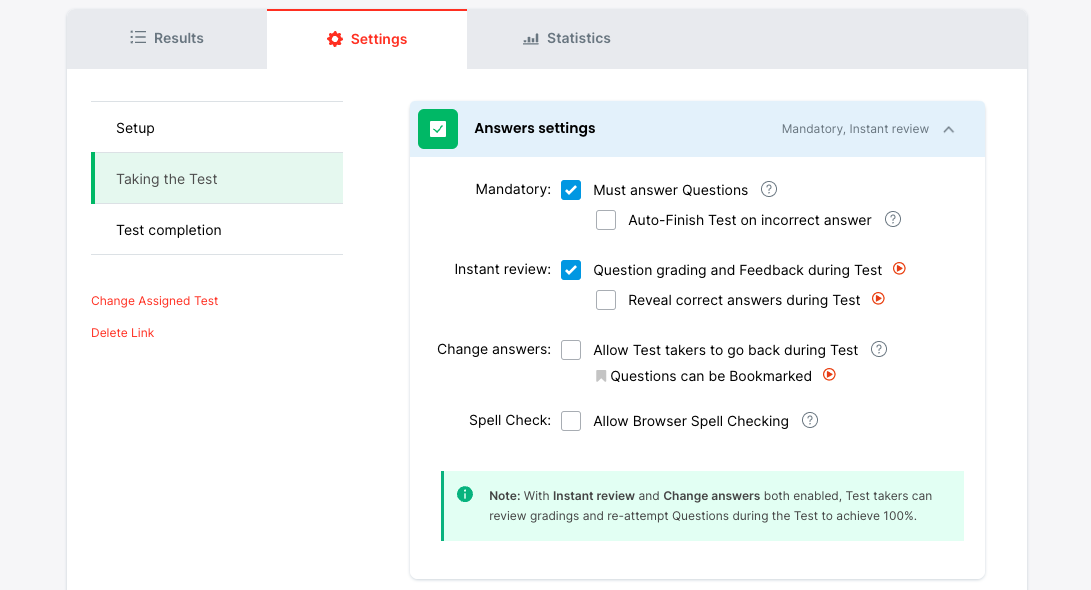
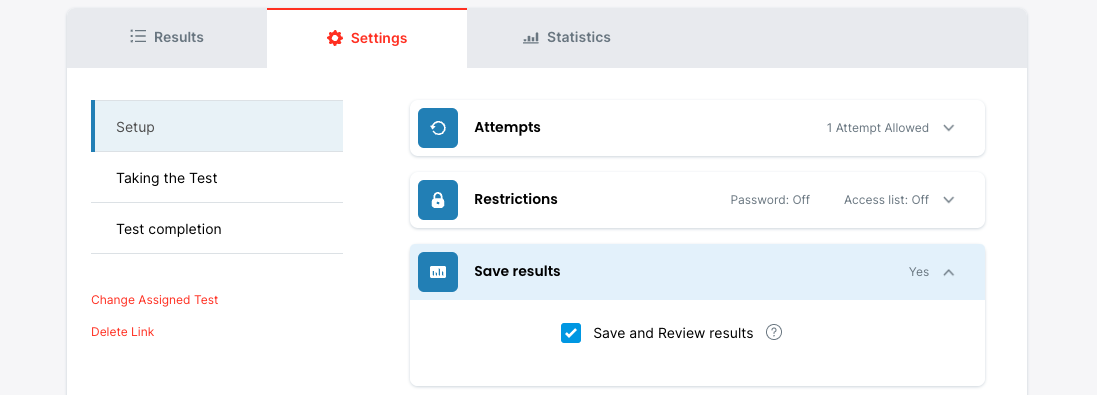
Define how many times each user can attempt a Test or survey. Note: If a Test includes Essay Questions a new attempt cannot be started until the previous attempt has been graded.
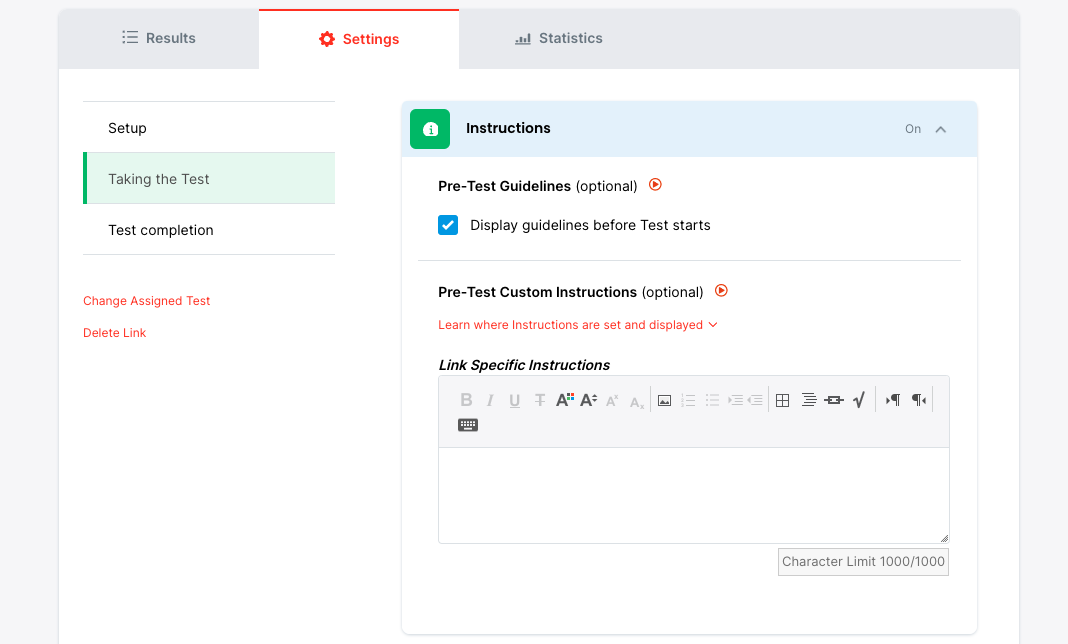
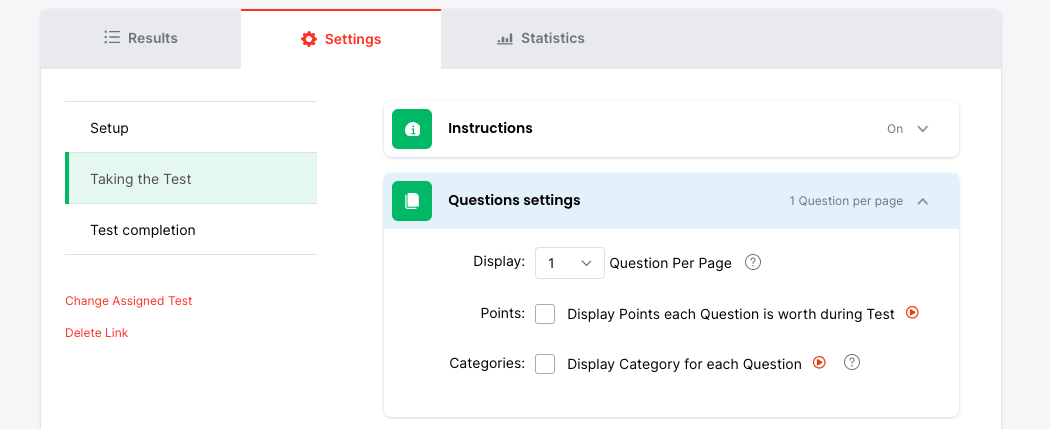
Give respondents instructions before they take your survey or exam.
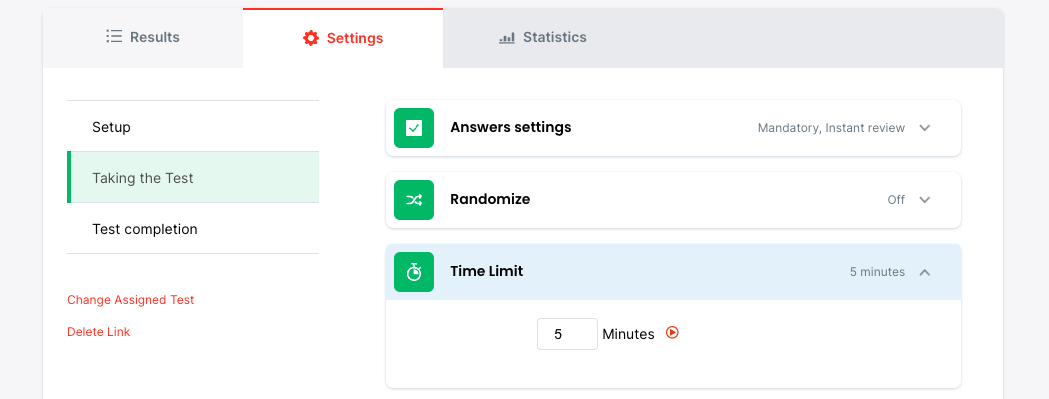
Define a time limit in which an attempt must be completed.
If a user goes over the allowed time limit the Test/survey will be automatically closed and set to 'finished'.
Note: The format for time is in minutes. For example, 1 hour and 20 minutes would be displayed as "80".
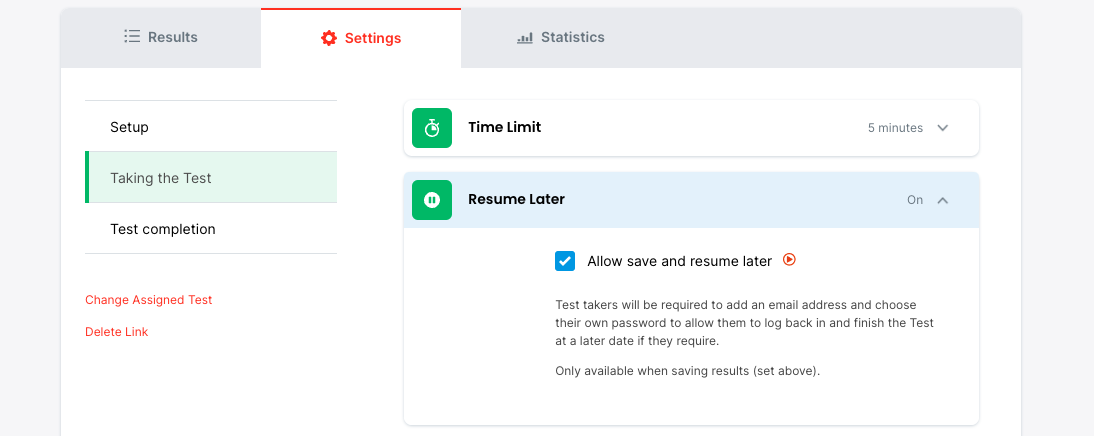
Choose whether users are allowed to save their progress in the middle of an attempt and then come back at a later stage to complete their Test or survey.
Note: When assigning via Link, users will be prompted to enter their email address and create a password. These two pieces of data will be used to login and resume the Test/survey from the original Link.
Define the number of Questions to be displayed on each page. You can display up to a maximum of 10 Questions per page.
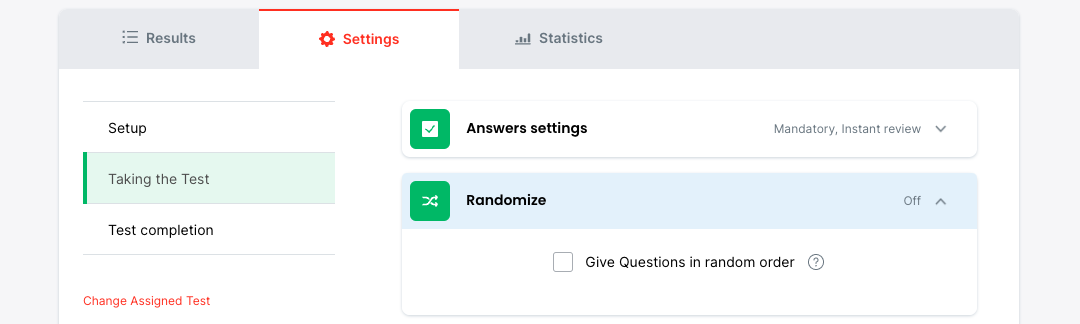
Choose for Questions to be displayed in random order each time a Test is taken. Useful for cheat prevention. Please note: Although randomization is available for surveys, it is recommended for tests.
Note: You can also have Questions selected at random from your Question bank each time your Test is taken, see Randomly selected Questions
This setting defines what will be displayed to users once they complete their Testor survey.
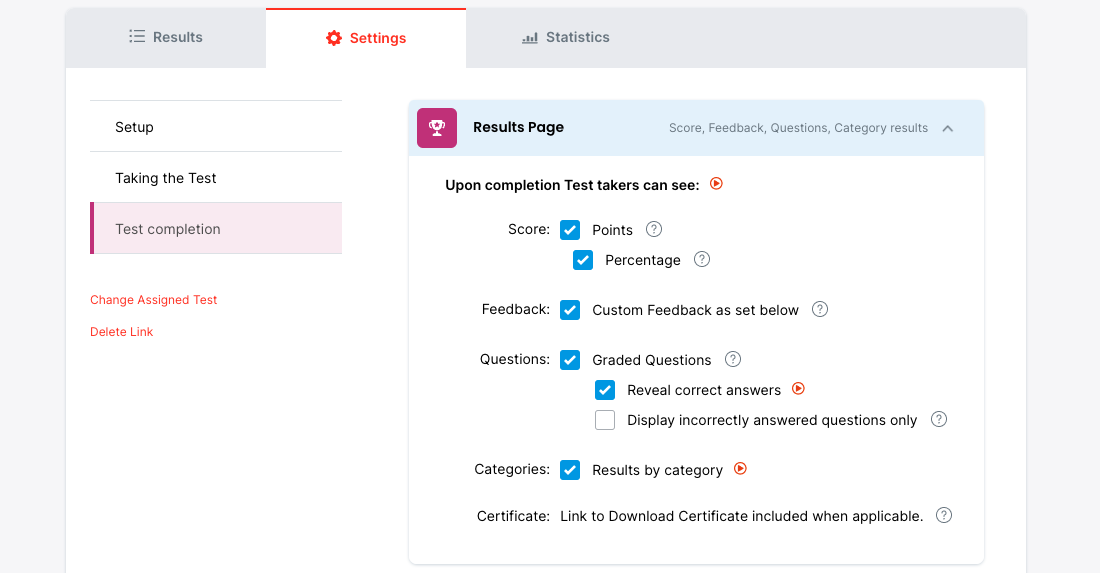
Define what grade must be achieved to pass the Test. Then enter feedback to be displayed for Pass or Fail marks.
Note: For Tests assigned via Link you can also include Return Links - a URL to direct the user to another web page (for example, your website, or perhaps a resource website for users who fail the Test).

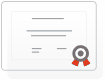
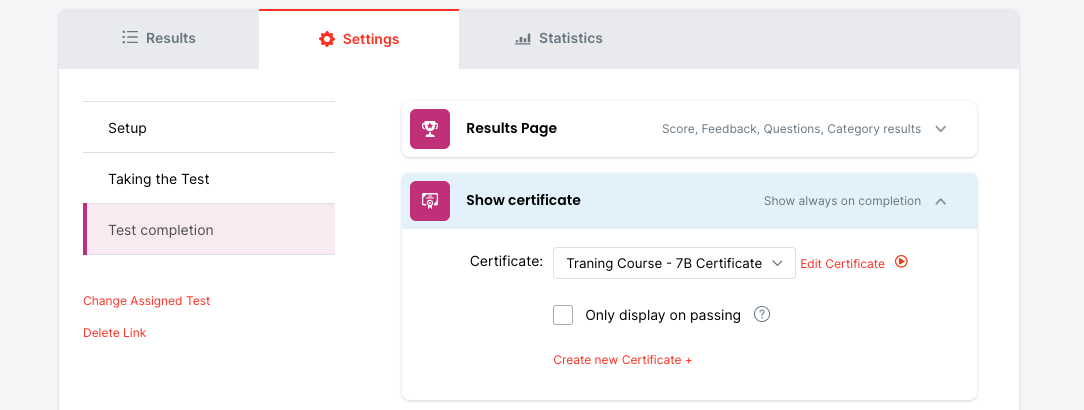
Define whether the Certificate is shown always on Test or survey completion, or only when the user passes a Test (Pass Mark must also be defined).
Choose what information is displayed on each Certificate. Optional auto-populate fields: user's name, Test/survey name, Test score and date. Plus, there are custom text fields for Test/survey and organization information.
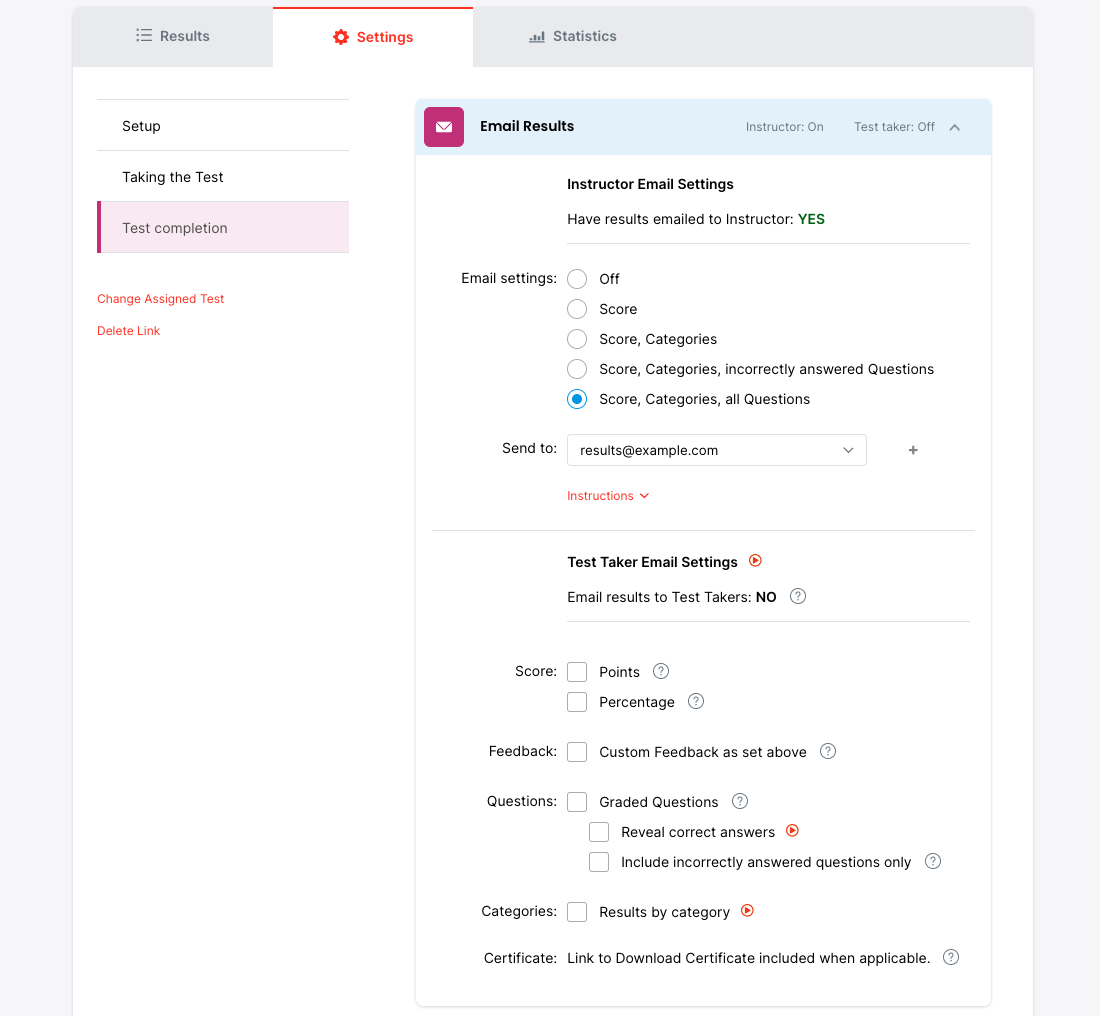
Define whether your users' results are sent to the email address registered under your ClassMarker account.
Note: The registered email address must be verified in order to receive these emails. Verify your email address by going to the My Account page, expand the section titled 'View and edit my details' and select the link 'Send verification email' (this link will only be displayed for unverified email addresses). An email will be sent to your email address, select the link provided to complete the verification process.
Test takers results can also be sent to their email address.
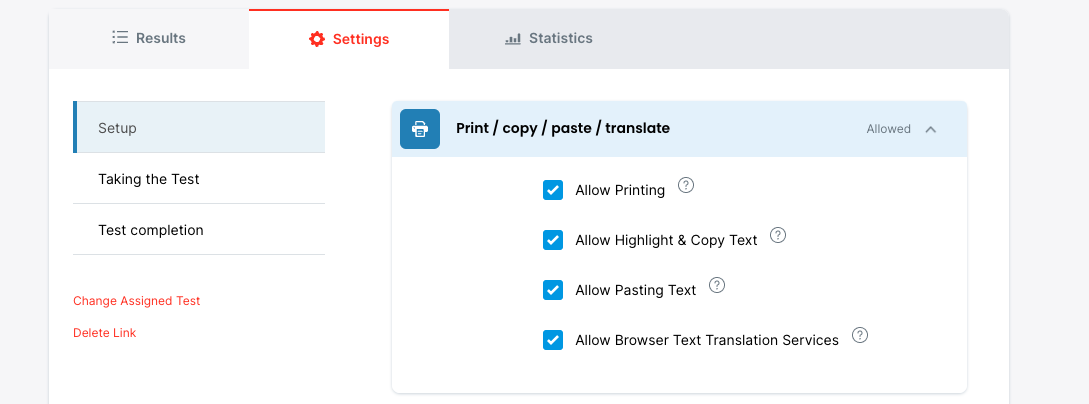
Choose to display disable printing of Results.
Tests/surveys assigned via Link have a few additional settings that can be defined to meet your requirements.
Set a password for your test or survey. Users must enter it to gain access.
Alternatively, apply an Access List. Access Lists enable you to restrict exactly who can access your Test or survey via a custom list of access codes you create.
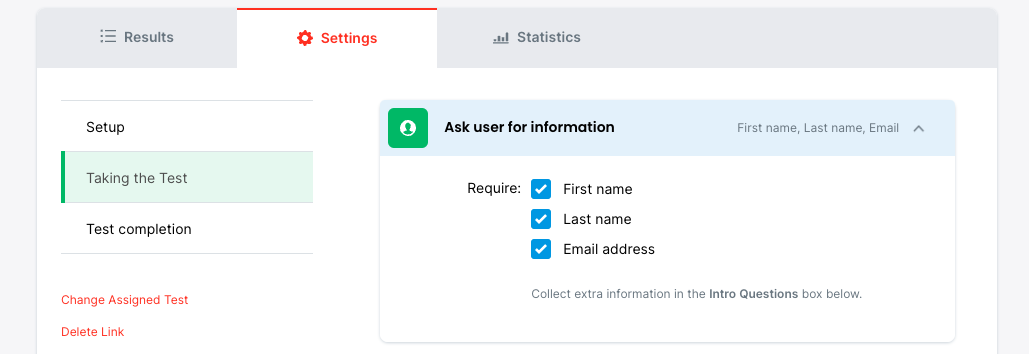
Define what user information is collected prior to starting. There are three pre-defined options that can be chosen:
Note: Results must be set to save in order for user information to be collected.
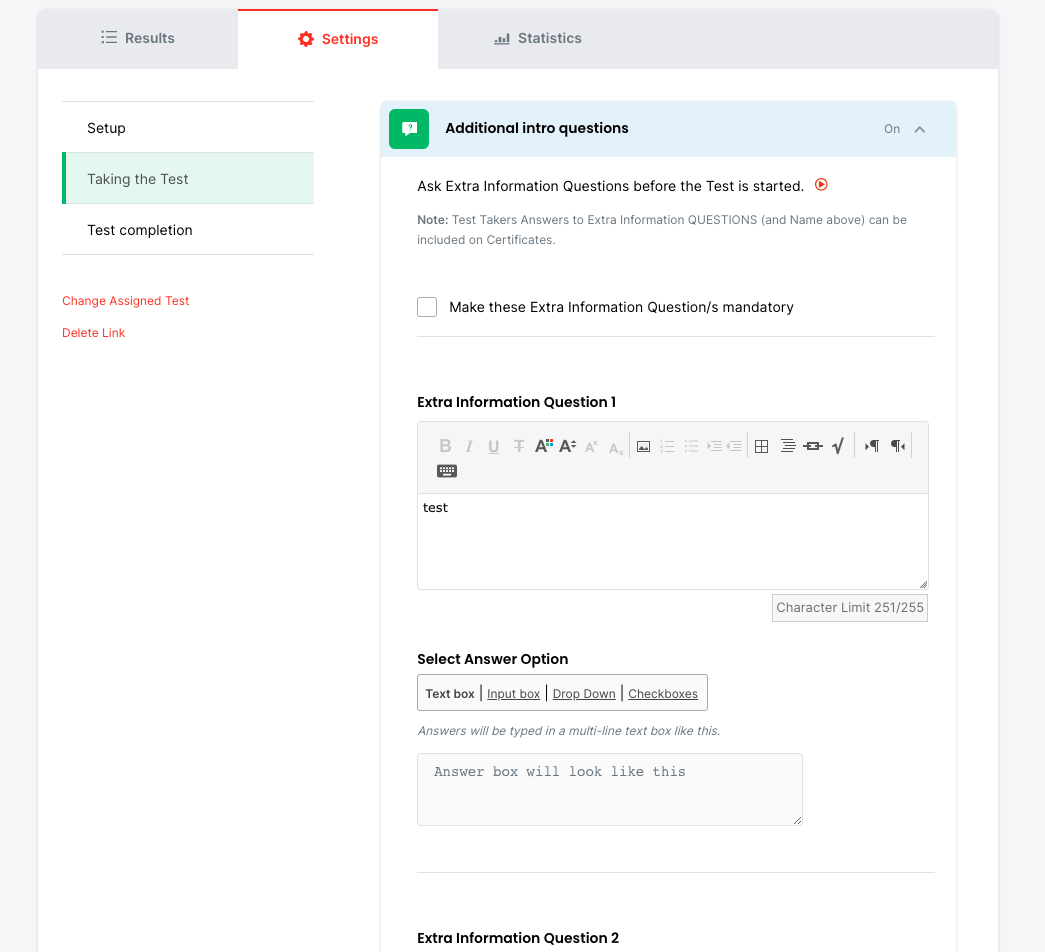
Create custom Questions for users to complete prior to starting. This can be any information you require, for example, student/employee IDs, company department, or perhaps a Question such as 'How did you find out about us?'.
Note: There is a maximum character count of 255 for both Question and answer fields and there is a maximum of five 'Extra information Questions' available.
Choose whether results are saved to your account.
Note: When results are set to save no advertising will display and one credit will be used.
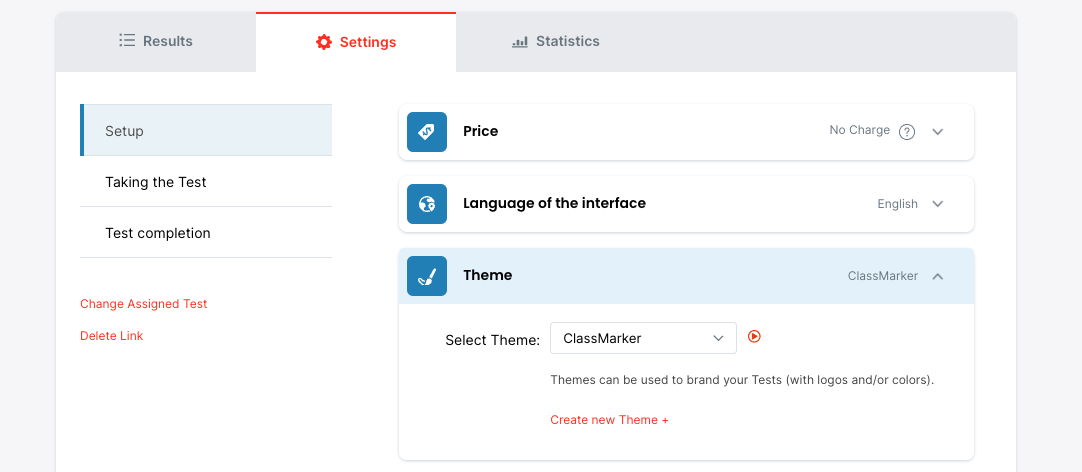
Use this setting to apply a Theme to your Test or survey. This enables you to remove ClassMarker branding and apply your organization's own logo and colors.
Default Settings can be saved and are then automatically pre-set each time you assign a Test or survey. Further customization can still be implemented if required during the Assign process.
Note: Edits to Default Settings won't affect current settings. They will only apply to tests or surveys assigned in the future.
You can change the assigned settings for a Test or survey at any time.
Changes will take effect immediately for the next user.
